
Custom Search

Objects in Second Life can be attached to the avatar at a number of bodily attachment points. (The exact number being thirty, in case you wondered.)

Just as each clothing layer can only hold one item at a time, each attachment point can only hold one object. While this has its advantages (you didn't particularly want to wear two shoes on the same foot, did you?) it can sometimes result in some hard choices to make, particularly when dealing with the lesser-used attachment points, which are sometimes used for 'internal' objects like Animation Overrides and Titlers.
To wear an Object, select it in your Inventory and click the Wear button. (You can also right-click the object and select "Wear.")
The Object will attach to the last attachment point it found itself at. If it hasn't previously been attached to an avatar, it will default to the right hand. (This can be a touch embarrassing if it turns out, for example, that the hair you just bought is still in a box that needs to be unpacked, but given that the previous default point was the head, this is a bit of an improvement.)
A few designers are helpful enough to let you know in the name of the item where it is destined to attach to. Most, however, do not, so when wearing a new item, it's generally a good idea to check and see what attachment point it's been hooked into, so when mixing and matching outfits you don't wind up missing the back of your sculpted trenchcoat because your wings got in the way.
As mentioned in the previous lesson, any item you wear (be it clothing, prim attachment or body part) will be bolded in your inventory and have "(worn)" next to the name. If it is a prim attachment, it will also tell you where it is worn, (such as "(worn on skull)" for prim hair.)
You can also change an item from one attachment point to another, though it can be a touch tricky because of the quirks of the attachment points. As always, Beginning Thursday will demonstrate for you.
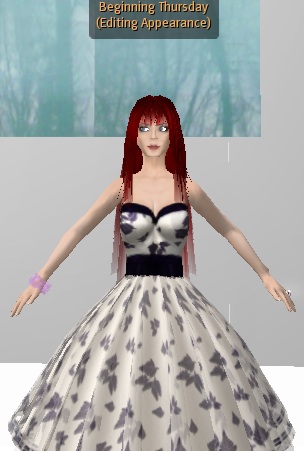
First off, before doing any adjustments to attachments, you will need a posing stand. (If you don't already have one, here's how to make one.)
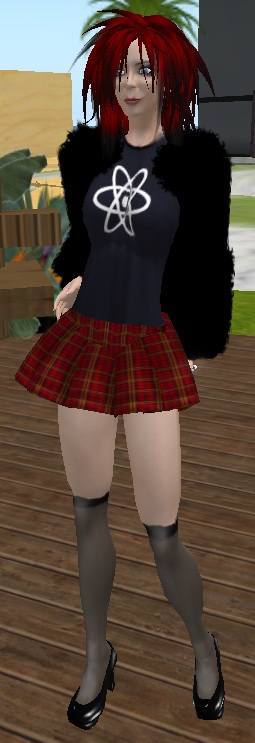
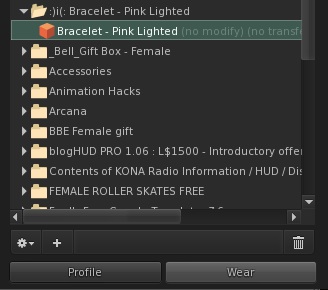
Beginning is wearing a lovely lighted pink bracelet which has been set to attach to the Right Forearm attachment point. (You can get one yourself for free here at Social Butterfly.)
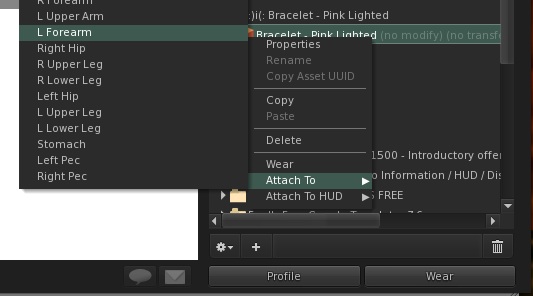
She would like to shift it to the Left Forearm. Step one is simple enough--right-click the bracelet in Inventory and select Attach To > L Forearm.
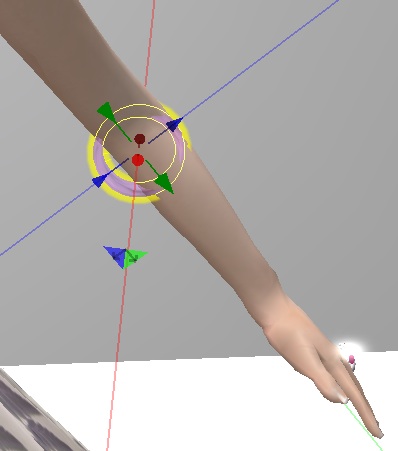
Unfortunately, the result is a bracelet embedded in her elbow, which isn't quite the effect we had in mind here. Therefore, the next step is to right-click the bracelet and select "Edit." This brings up our friend the Edit window and allows us to reposition the bracelet.
First, use the arrows to get the bracelet to the wrist. In this case, grabbing the green arrow (X axis) and pulling it down works perfectly. In other cases, you may need to fiddle with the other axes as well. It's generally a good idea to confine yourself to manipulating one axis at a time when you're just getting the hang of things.
Next, select Rotate on the edit window (or hold down the Control key.) This will change the arrows to three circles that designate rotation.
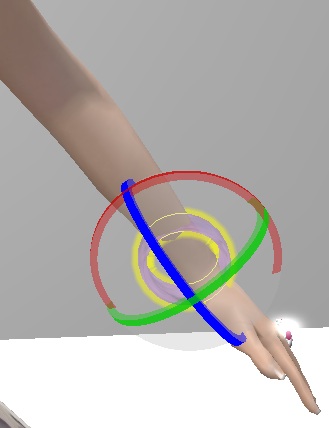
Click and drag on the circle so it will turn in the direction you want. In this case, we want the blue one (Z axis.) When you select one, the other two planes will disappear so you can adjust accordingly.
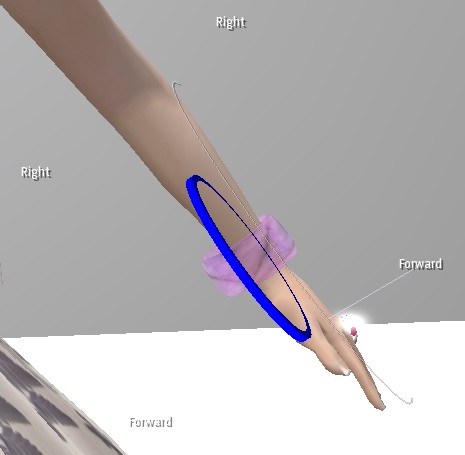
Release and voila! The bracelet is turned to fit on the wrist instead of inside it.
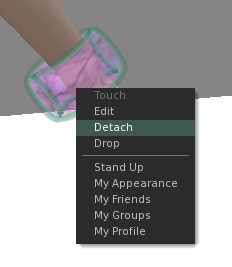
Right-click and select "Detach" to remove.
From that point forward, each time you click "Wear", the object will attach to the point you left it at.
If the object in question is copyable, you might consider making a 'backup' before fiddling with other attachment points or readjusting where it sits on your avatar. (To make a copy of an item, right-click the object and select "Copy" then pick a folder in your Inventory to keep it in, right-click the folder and select "Paste." If it won't let you select "Copy" this means the permissions have been set to non-copy.)
HUD attachments (Heads Up Display--objects that attach to your screen rather than your avatar) are a slightly different kettle of prims, but we'll get to those in a future tutorial. In the meantime, get out there and enjoy looking fabulous!